Seeing as I've finally got the three British and one German cruiser all painted up and based, I though it would be a good time to do a proper battle report. Please note that we use a modified version of the rules so you may see some strange things happening (like torpedo mounts being knocked out by gunfire for example).
We set up the battle as a closing engagement.
The Admiral Graf Spee confidently steams towards the British ships.

Ajax and Achilles approach the enemy from port
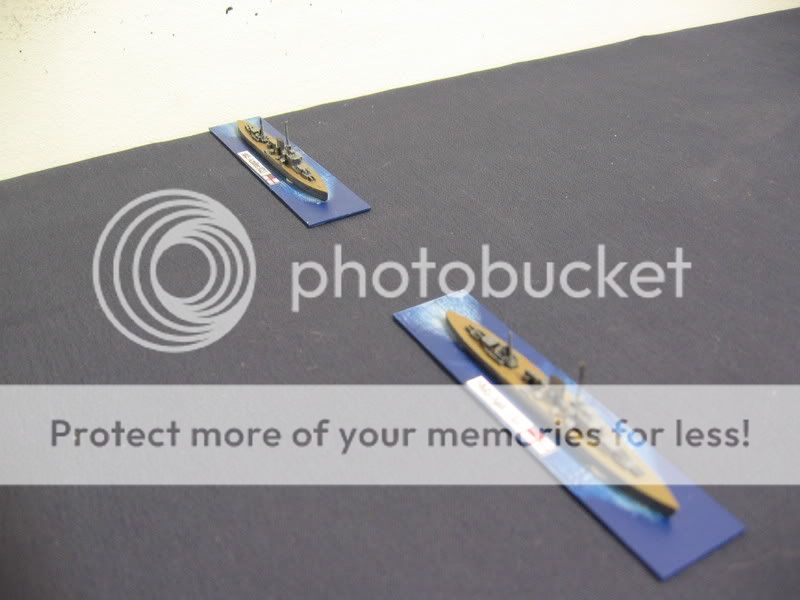
While Exeter moves in from starboard
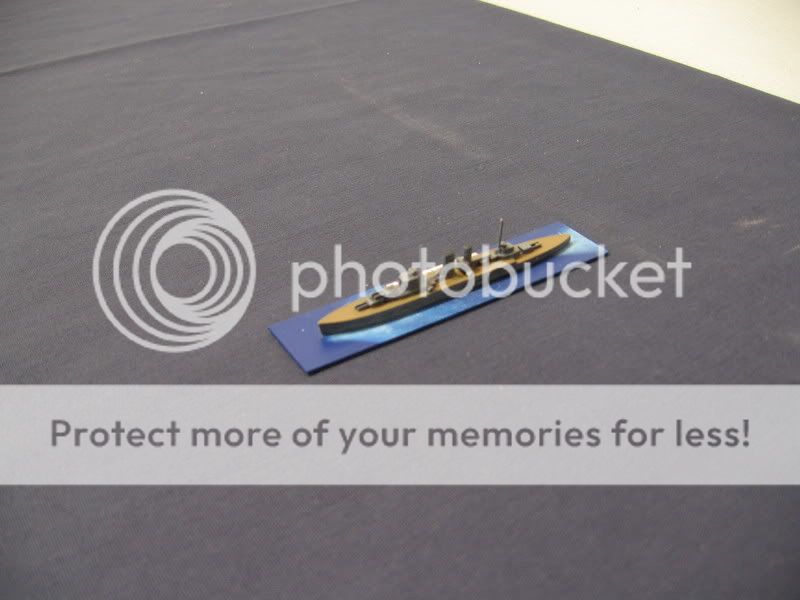
Turn 1
The Germans win the initiative. The Exeter applies flank speed and surges forward as fast as she can manage. In response the Graf Spee comes about to port in an effort to engage the British light cruisers first. For their part the Ajax and Achilles both steam ahead at flank speed desperately trying to bring the enemy to within range of their 6” armaments.
In the shooting phase the Graf Spee targets the Ajax and opens fire at extreme range. Thanks to her 32+ knot speed Ajax makes for a very difficult target and all of the 11” shells hit the water wide of her.
Turn 2
The Germans win initiative, and once again the British ships all advance at flank speed while the Graf Spee manoeuvres to present a broadside to the leading British light cruiser (Ajax).
Another salvo from both of Graf Spee’s 11” triple turrets is directed at Ajax. Although she is straddled and huge columns of water erupt to either side of her, Ajax is spared once again.
The Admiral Graf Spee firing broadsides at the advancing British squadron.

Turn 3
The Germans win initiative again. The British ships continue their advance at flank speed while the Admiral Graf Spee holds its course and runs perpendicular to the British squadron.
The Graf Spee opens fire and this time she finds her prey. The Ajax is hit by several 11” shells one of which strikes an aft gun turret (X turret). The Turret is destroyed and Ajax immediately catches fire. Almost simultaneously Ajax returns fire with her 6” armament which is now just in range. She manages to strike the Graf Spee with her first salvo but only inflicts superficial damage. The Achilles joins in with her own salvo and also scores a hit. One of her 6” shells hits the Admiral Graf Spee’s port side torpedo deck and causes heavy casualties there. As a result the torpedo launcher is put out of action. Finally, Exeter opens fire with her forward 8” turrets. She manages to score three hits which cause light damage.
Damage control parties aboard Ajax desperately battle to put out the fire on the upper deck, but the flames spread out of control and the ship quickly becomes crippled. All of her turrets are abandoned and her spotter plane is ditched overboard to prevent it from exploding. She still has her torpedoes though.
Aboard the Graf Spee, the port side torpedo mount is quickly re-manned and is ready for action.
The Ajax blazes out of control while the Exeter continues to advance.

Turn 4
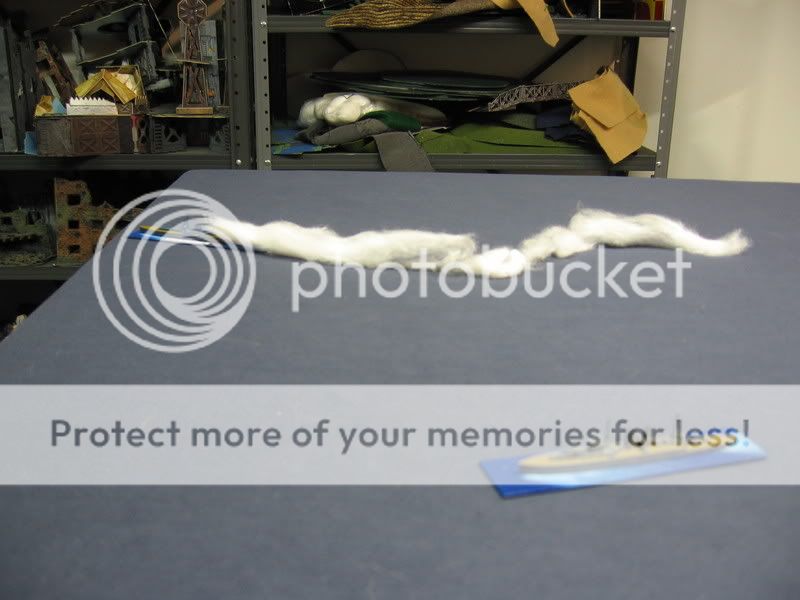
The Germans luck holds and they again win the initiative. While the Exeter and Achilles continue to close at high speed the Germans decide to try something sneaky. They pump oil into their engines and lay a carpet of thick obscuring smoke behind them as they veer off to port. This will conceal them from the Exeter’s guns while they deal the rapidly closing Achilles. Ajax in her crippled state has slowed considerably, but she continues to close on the Graf Spee.
Achilles becomes the new target of the Graf Spee’s 11” turrets and she is immediately hit several times. Her superstructure suffers some damage and her starboard torpedo mount is put out of action. Exeter attempts to pick out the Graf Spee through the thick smoke but most of the shots miss wildly. Then the British luck begins to change. An 8” shell from Exeter hurtles its way through the smoke and slams into the superstructure of the Admiral Graf Spee. The shell punches through the pocket battleships armour and explodes below deck causing a multitude of casualties. The confusion and carnage that follows shatters the morale and efficiency of the remaining crew (dropping the Graf Spee’s command rating from 4 to 3).
Meanwhile the crew of the Ajax continue a losing battle against the raging fires that threaten the entire ship.
The Admiral Graf Spee makes smoke and shifts its firing onto the Achilles

Turn 5
Once again the Germans win initiative. While the Achilles draws closer on the Graf Spee’s starboard rear quarter, the Graf Spee continues to belch thick smoke from its stack as it turns sharply to starboard in an effort to avoid the pursuing Exeter. Exeter follows the Graf Spee but at the last minute demonstrates her agility and turns sharply in order to present her broadside to the enemy.
The Graf Spee targets the Ajax and cripples her with a series of hits with her main armament (knocking out her forward turret, her remaining torpedo launcher and her spotter plane). The Exeter also suffers some minor damage at the hands of the Graf Spee’s secondary guns. In return, the Achilles scores a few hits with her remaining turrets and secondary armament. Then the Exeter opens fire with a full broadside of six 8” guns and all her secondary batteries. The resulting damage cripples the Graf Spee. Her main guns are knocked out and her flight deck sustains heavy damage with a floatplane stored there being destroyed.
The crew of the Ajax are forced to abandon ship as the fires on board rage out of control and consume the entire vessel.
Turn 6
In the final turn of the game, the British at last win the initiative. The Graf Spee has only one hope. They must disengage from battle and make for a neutral port to make repairs. To this end, the captain orders flank speed and the Graf Spee surges away in an attempt the leave the battle area (i.e.: the board edge). The Exeter is in hot pursuit but is careful not to draw too close. She knows that the enemy still has the capability to launch torpedoes. The Achilles veers away slowly, her rate of turn and speed severely reduced in her crippled state.
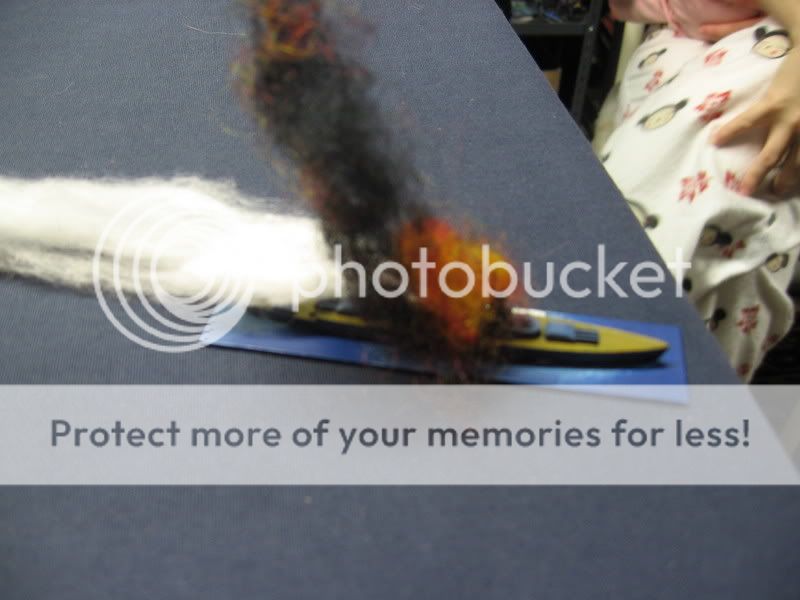
The Exeter opens fire at the escaping enemy and scores multiple hits with her primary and secondary armaments. The Graf Spee is shaken by the salvo and multiple fires erupt onboard. She keels over drastically and begins to sink. All hands abandon ship and the battle is concluded.
The Graf Spee moving at flank speed away from battle with the Exeter in pursuit
The final fate of the Admiral Graf Spee
Aftermath
The burned out hulk of the Ajax is eventually towed back to the nearest harbour (Montevideo) and salvaged for scrap metal. The Achilles barely manages to make her way to Montevideo under her own power where she is eventually repaired and made sea worthy again. The Exeter (which has sustained almost no damage) is joined by the cruiser HMS Cumberland and together the pair is sent back into the Atlantic to hunt for more raiders.
Final Tally
Graf Spee – Sunk
Casualties – 481
Ajax – Burned Wreck
Casualties – 294
Achilles – Crippled
Casualties – 177
Exeter – Very slight damage
Casualties – 0
We set up the battle as a closing engagement.
The Admiral Graf Spee confidently steams towards the British ships.

Ajax and Achilles approach the enemy from port

While Exeter moves in from starboard

Turn 1
The Germans win the initiative. The Exeter applies flank speed and surges forward as fast as she can manage. In response the Graf Spee comes about to port in an effort to engage the British light cruisers first. For their part the Ajax and Achilles both steam ahead at flank speed desperately trying to bring the enemy to within range of their 6” armaments.
In the shooting phase the Graf Spee targets the Ajax and opens fire at extreme range. Thanks to her 32+ knot speed Ajax makes for a very difficult target and all of the 11” shells hit the water wide of her.
Turn 2
The Germans win initiative, and once again the British ships all advance at flank speed while the Graf Spee manoeuvres to present a broadside to the leading British light cruiser (Ajax).
Another salvo from both of Graf Spee’s 11” triple turrets is directed at Ajax. Although she is straddled and huge columns of water erupt to either side of her, Ajax is spared once again.
The Admiral Graf Spee firing broadsides at the advancing British squadron.

Turn 3
The Germans win initiative again. The British ships continue their advance at flank speed while the Admiral Graf Spee holds its course and runs perpendicular to the British squadron.
The Graf Spee opens fire and this time she finds her prey. The Ajax is hit by several 11” shells one of which strikes an aft gun turret (X turret). The Turret is destroyed and Ajax immediately catches fire. Almost simultaneously Ajax returns fire with her 6” armament which is now just in range. She manages to strike the Graf Spee with her first salvo but only inflicts superficial damage. The Achilles joins in with her own salvo and also scores a hit. One of her 6” shells hits the Admiral Graf Spee’s port side torpedo deck and causes heavy casualties there. As a result the torpedo launcher is put out of action. Finally, Exeter opens fire with her forward 8” turrets. She manages to score three hits which cause light damage.
Damage control parties aboard Ajax desperately battle to put out the fire on the upper deck, but the flames spread out of control and the ship quickly becomes crippled. All of her turrets are abandoned and her spotter plane is ditched overboard to prevent it from exploding. She still has her torpedoes though.
Aboard the Graf Spee, the port side torpedo mount is quickly re-manned and is ready for action.
The Ajax blazes out of control while the Exeter continues to advance.

Turn 4
The Germans luck holds and they again win the initiative. While the Exeter and Achilles continue to close at high speed the Germans decide to try something sneaky. They pump oil into their engines and lay a carpet of thick obscuring smoke behind them as they veer off to port. This will conceal them from the Exeter’s guns while they deal the rapidly closing Achilles. Ajax in her crippled state has slowed considerably, but she continues to close on the Graf Spee.
Achilles becomes the new target of the Graf Spee’s 11” turrets and she is immediately hit several times. Her superstructure suffers some damage and her starboard torpedo mount is put out of action. Exeter attempts to pick out the Graf Spee through the thick smoke but most of the shots miss wildly. Then the British luck begins to change. An 8” shell from Exeter hurtles its way through the smoke and slams into the superstructure of the Admiral Graf Spee. The shell punches through the pocket battleships armour and explodes below deck causing a multitude of casualties. The confusion and carnage that follows shatters the morale and efficiency of the remaining crew (dropping the Graf Spee’s command rating from 4 to 3).
Meanwhile the crew of the Ajax continue a losing battle against the raging fires that threaten the entire ship.
The Admiral Graf Spee makes smoke and shifts its firing onto the Achilles

Turn 5
Once again the Germans win initiative. While the Achilles draws closer on the Graf Spee’s starboard rear quarter, the Graf Spee continues to belch thick smoke from its stack as it turns sharply to starboard in an effort to avoid the pursuing Exeter. Exeter follows the Graf Spee but at the last minute demonstrates her agility and turns sharply in order to present her broadside to the enemy.
The Graf Spee targets the Ajax and cripples her with a series of hits with her main armament (knocking out her forward turret, her remaining torpedo launcher and her spotter plane). The Exeter also suffers some minor damage at the hands of the Graf Spee’s secondary guns. In return, the Achilles scores a few hits with her remaining turrets and secondary armament. Then the Exeter opens fire with a full broadside of six 8” guns and all her secondary batteries. The resulting damage cripples the Graf Spee. Her main guns are knocked out and her flight deck sustains heavy damage with a floatplane stored there being destroyed.
The crew of the Ajax are forced to abandon ship as the fires on board rage out of control and consume the entire vessel.
Turn 6
In the final turn of the game, the British at last win the initiative. The Graf Spee has only one hope. They must disengage from battle and make for a neutral port to make repairs. To this end, the captain orders flank speed and the Graf Spee surges away in an attempt the leave the battle area (i.e.: the board edge). The Exeter is in hot pursuit but is careful not to draw too close. She knows that the enemy still has the capability to launch torpedoes. The Achilles veers away slowly, her rate of turn and speed severely reduced in her crippled state.
The Exeter opens fire at the escaping enemy and scores multiple hits with her primary and secondary armaments. The Graf Spee is shaken by the salvo and multiple fires erupt onboard. She keels over drastically and begins to sink. All hands abandon ship and the battle is concluded.
The Graf Spee moving at flank speed away from battle with the Exeter in pursuit

The final fate of the Admiral Graf Spee

Aftermath
The burned out hulk of the Ajax is eventually towed back to the nearest harbour (Montevideo) and salvaged for scrap metal. The Achilles barely manages to make her way to Montevideo under her own power where she is eventually repaired and made sea worthy again. The Exeter (which has sustained almost no damage) is joined by the cruiser HMS Cumberland and together the pair is sent back into the Atlantic to hunt for more raiders.
Final Tally
Graf Spee – Sunk
Casualties – 481
Ajax – Burned Wreck
Casualties – 294
Achilles – Crippled
Casualties – 177
Exeter – Very slight damage
Casualties – 0
