On the 19th, Drummer, Vensar, and I got together for a quick battle. We decided to do something rather "generic" since our last two battles had been narrative scenarios. It was time for a good old smash up!
The fleets chosen were Klingons (Drummer and I) against Vensar's Gorns at 1000 pts using the basic Call to Arms scenario.
The fleets were as follows:
Klingon
2 D6
1 D5
3 F5
3 E4
Gorn
1 BCH
2 CL
2 HDD
1 BDD
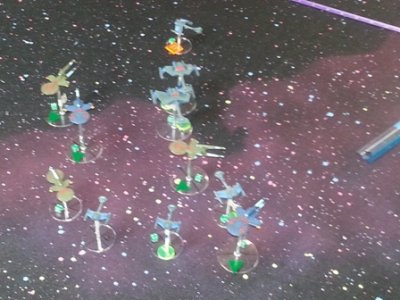
The Gorns deployed first and chose to form up in a wedge at the center of their deployment zone with the BCH on point. The CLs and HDDs flanked to each side and the BDD covered the center of the vee.
The Klingon "wolf pack" with its shorter than normal ranges (range 15 disruptors, and lots of Ph-2) also set up centrally and planned to use its maneuverability to run the lizards in circles.
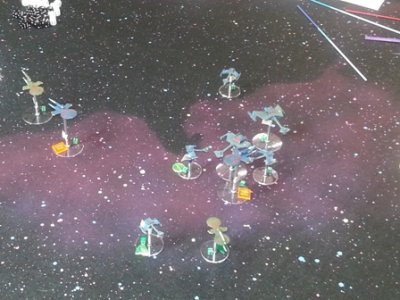
Now I didn't originally plan to do a batrep for this one since we didn't have a camera, so the opening turn isn't all that well documented. Drummer and Vensar's brother turned up with his smartphone during turn 3, so we have pictures from there on.
Turn one saw little action. Some long range drone and Disruptor fire from the Klingon cruisers took some shields from the Gorns, and the Gorns replied with some limited Ph-1 fire.
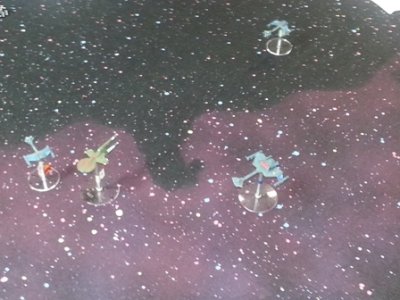
Turn 2 got interesting. The Klingons lost initiative and had to move first. One brave E4 ordered the crew to locate thier "evacuation buddy" and went bravely forward. The Gorns responded and started to set up to kill it.
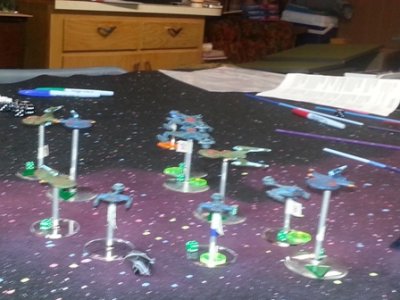
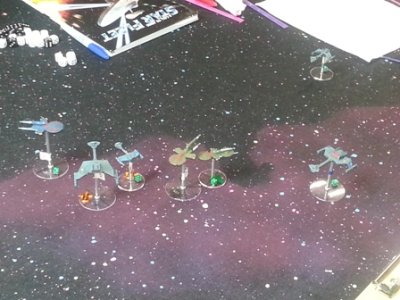
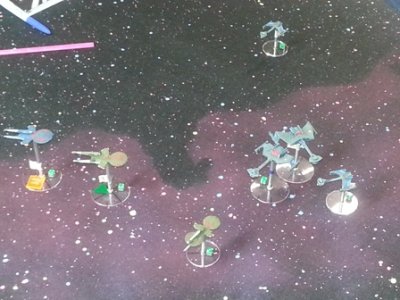
The Klingons decided to be bold, and sent the rest of the E4 squadron against the Gorn BDD, the rest of the fleet all focused on the BCH in a bid to kill the enemy flag. The Klingons Cool calculation (remember I was a klingon") ) resulted in the death of the BCH, one D6 (vaporized by prime range fire from all 16 plasma dice from the BCH) and one E4 with another E4 being crippled. The BDD lost most of its shields.
) resulted in the death of the BCH, one D6 (vaporized by prime range fire from all 16 plasma dice from the BCH) and one E4 with another E4 being crippled. The BDD lost most of its shields.
To be cont'd
RIP Snarl
The fleets chosen were Klingons (Drummer and I) against Vensar's Gorns at 1000 pts using the basic Call to Arms scenario.
The fleets were as follows:
Klingon
2 D6
1 D5
3 F5
3 E4
Gorn
1 BCH
2 CL
2 HDD
1 BDD
The Gorns deployed first and chose to form up in a wedge at the center of their deployment zone with the BCH on point. The CLs and HDDs flanked to each side and the BDD covered the center of the vee.
The Klingon "wolf pack" with its shorter than normal ranges (range 15 disruptors, and lots of Ph-2) also set up centrally and planned to use its maneuverability to run the lizards in circles.
Now I didn't originally plan to do a batrep for this one since we didn't have a camera, so the opening turn isn't all that well documented. Drummer and Vensar's brother turned up with his smartphone during turn 3, so we have pictures from there on.
Turn one saw little action. Some long range drone and Disruptor fire from the Klingon cruisers took some shields from the Gorns, and the Gorns replied with some limited Ph-1 fire.
Turn 2 got interesting. The Klingons lost initiative and had to move first. One brave E4 ordered the crew to locate thier "evacuation buddy" and went bravely forward. The Gorns responded and started to set up to kill it.
The Klingons decided to be bold, and sent the rest of the E4 squadron against the Gorn BDD, the rest of the fleet all focused on the BCH in a bid to kill the enemy flag. The Klingons Cool calculation (remember I was a klingon
) resulted in the death of the BCH, one D6 (vaporized by prime range fire from all 16 plasma dice from the BCH) and one E4 with another E4 being crippled. The BDD lost most of its shields.To be cont'd
RIP Snarl


") It certainly wasn't our disparaging disrupter fire.
It certainly wasn't our disparaging disrupter fire.